I grew up eating a lot of canned soup. My mom would make occasional pots of beef stew or chili for my dad, who is a much bigger fan of soup than my mom. But mostly, there was a lot of Cambell’s in our house. Then, someone gave my mom a device called a Rocket Chef. It came with an instruction book that included this recipe. I don’t know what ever became of Rocket Chef (or truthfully, even exactly what Rocket Chef was), but this recipe has been adapted for stove top use.
In grad school, I had my first apartment, and enjoyed having “dinner parties,” which really consisted of me inviting friends over to cook dinner together. This was a common recipe we often used. We usually served it with homemade biscuits.
There was a long period of time after I moved to VA when I rarely made this recipe, but I rediscovered it in 2014 in a handwritten book of favorite recipes I use often.
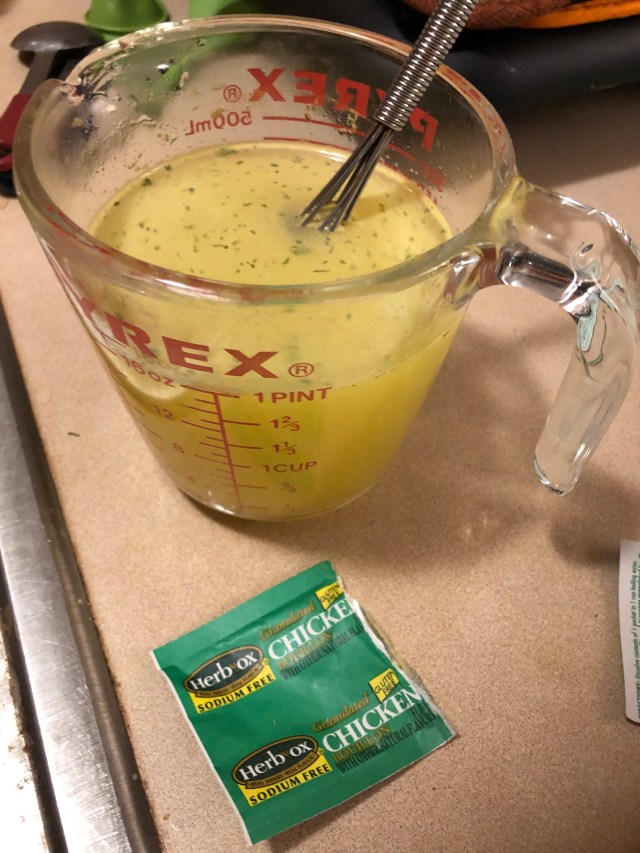
To start, heat 3 cups of chicken broth to boiling. I usually use this salt-free mix if I don’t have any homemade stock handy. If I need more liquid (which happens often), I just add some water.
I recommend sodium free Herb Ox if you don’t have any homemade stock
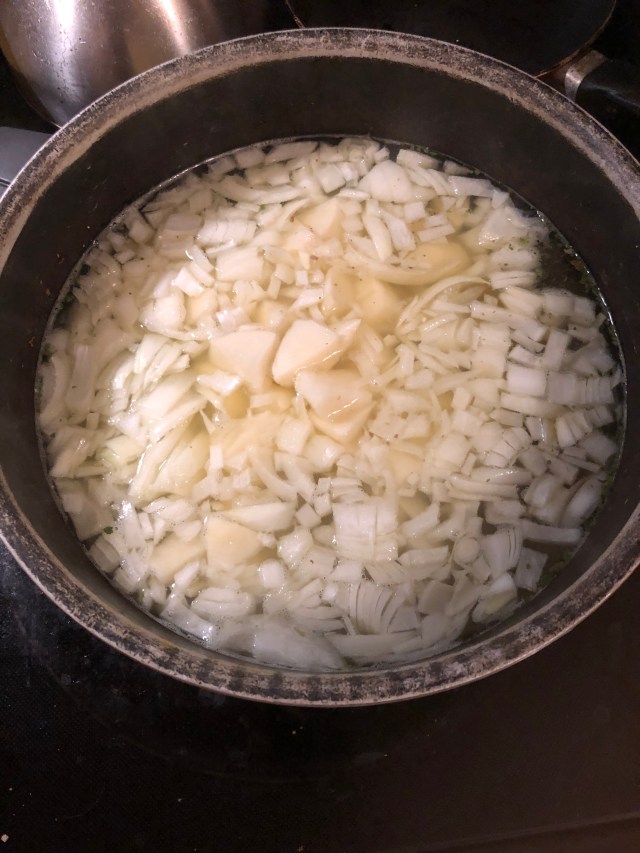
While the broth/stock is heating to a boil, chop 3 potatoes (classically, they are peeled, and in this quarantine version, I was down to the last of the potatoes, so they were full of eyes and areas that needed to be cut away, so I peeled them. Otherwise, peeling is not required). Also chop 2 medium yellow onions (or one large). Add them to the boiling stock. If there is not enough liquid once you’ve added the veg, add a bit more water and bring the temperature up to a simmer.
Adding veggies put my stock back to a simmer.
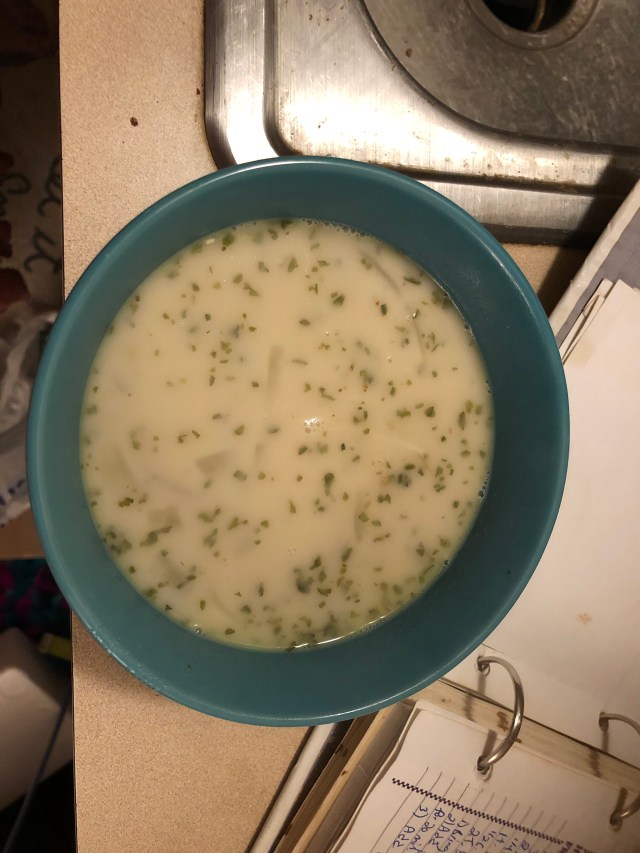
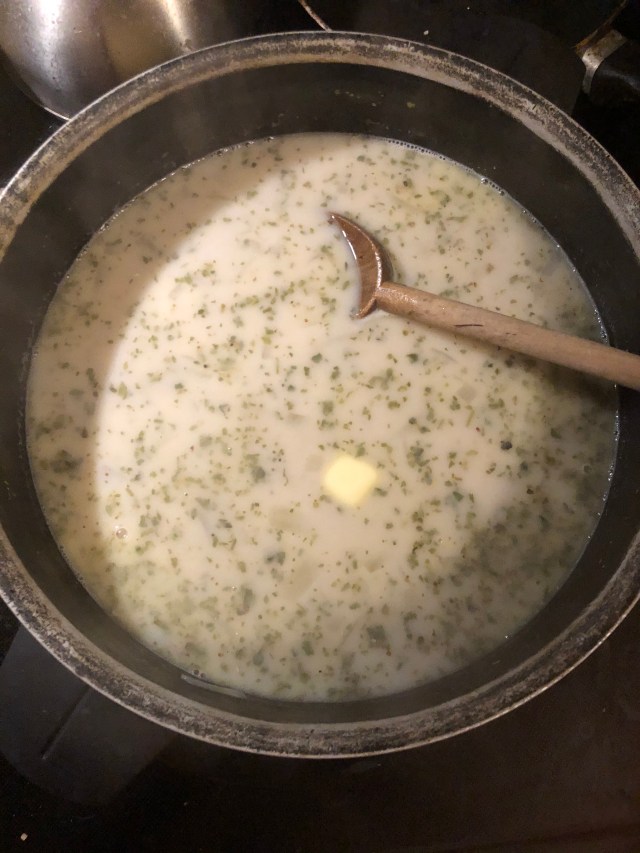
Bring to a simmer and cover. Cook for about 20 minutes or until potatoes are tender. Then add in 1/4 cup parsley (about 1 T if using dried parsley), 1/2 cup of light cream (half and half is fine. I always have that on hand for coffee, so I’ve used that for years), and 2 T. butter. I keep butter in the freezer, and frozen butter takes a tiny bit longer to melt, but it works as well as room temp. Stir to combine. Do not boil.
the frozen butter takes a little longer to melt
Cream of Potato Soup (from a Rocket Chef instruction book)
3 C. chicken broth (vegetable broth can be used for a vegetarian version)
3 medium potatoes (peeling optional)
2 medium yellow onions (or 1 large)
1/4 cup parsley (1 T. if using dried)
1/2 cup light cream (or half and half)
2 T. butter
Bring the chicken broth to boiling in a saucepan (or dutch oven).
Add potatoes and onions to the broth. Cover and simmer over low heat for 20 minutes, or until vegetables are tender.
Add parsley, oregano, cream, and butter. Stir to combine. Do not boil.
Tostones are unripened plantains that are twice fried. They are amazing! I used to work in a Caribbean restaurant for about 3 years. It was called Macondo’s and was named after the fictional town in A Hundred Years of Solitude, which is one of my favorite books. Macondo’s was run by a couple. She was from Puerto Rico, and he was from Albania. Many of the recipes were from her childhood.
I learned a lot in my time at Macondo’s, and there are many times I miss the amazing food. So, I’ve learned to recreate some of these dishes.
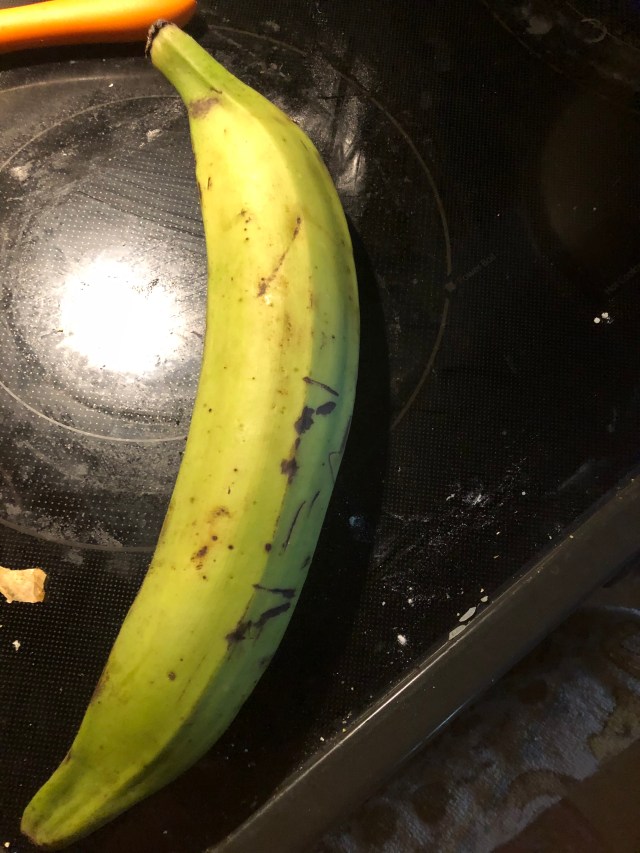
To make tostones, you first need unripe plantains. A plantain that is green will work. When plantains ripen, they turn black and are sweeter. Ripe/black plantains will not stand up to the double fry process (there are a number of delicious things you can do with ripe plantains, but we’ll keep those for another day).
an unripe plantain–this one is starting to turn, so it needs to be used now
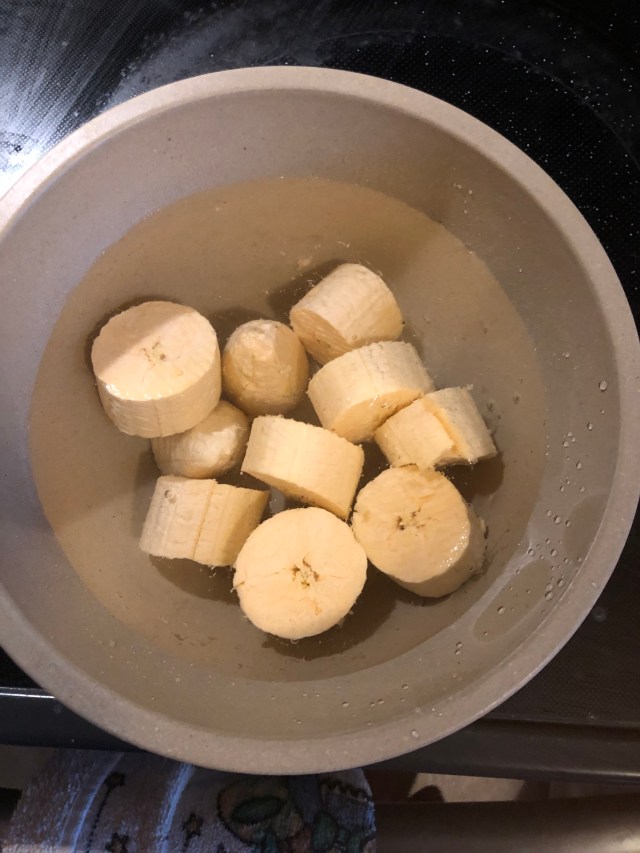
Take the peel off the plantain. This is much harder than peeling a banana. It will require a sharp knife. Once you’ve removed the peel, cut the plantain into chunks. Soak the chunks in some salt water.
chunks soaking in salt water
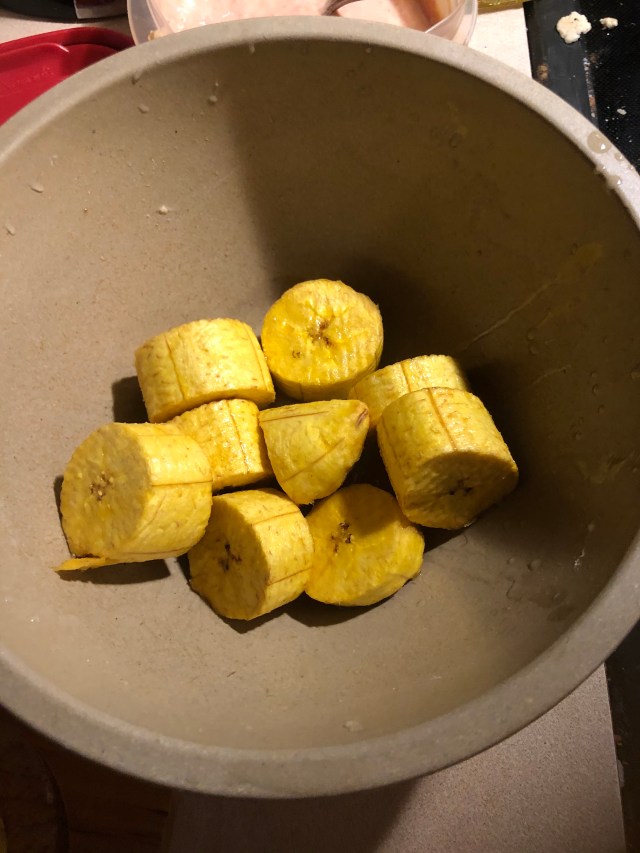
Next, deep fry the chunks in oil. Make sure there is enough oil to cover the chunks. Remove them when they are browned.
once-fried plantain chunks
Now, it’s time to smash the chunks. Traditionally, a tostonera is used. This is a hinged piece of wood with a circle cut into it. I was able to locate one during my Macondo’s days at Food Lion, when it had a sizable Latin foods section. If you don’t have a tostonera, you will need to find something large and sturdy enough to smash the plantains with.
outside of the tostoneraPlace a chunk in the circle and close the hinged lid, pressing until flat
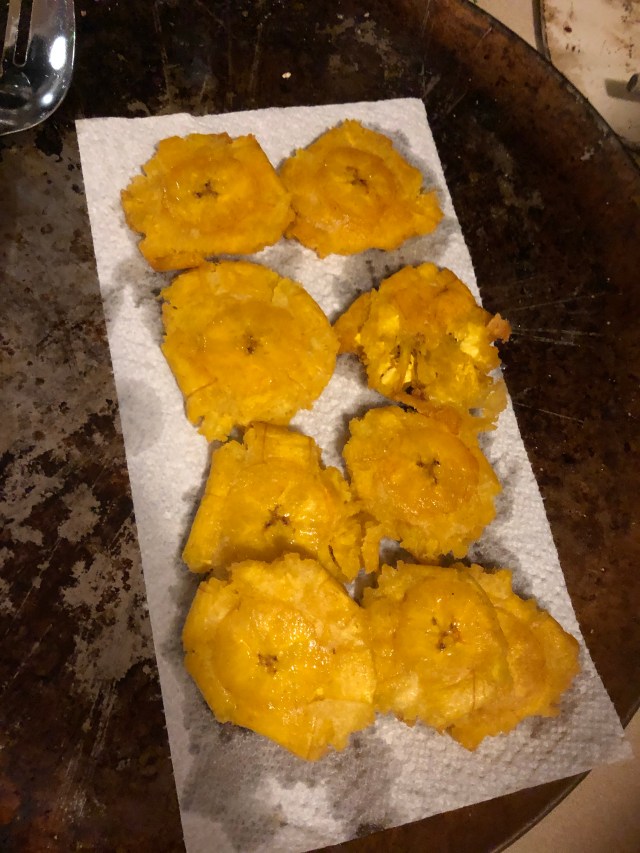
Once you have flattened all of the chunks into disks, you will refry the tostones in the hot oil until browned sufficiently. Remove them to paper towels and salt them, as you would French fries.
At Macondo’s, we served them with a mixture of equal parts ketchup and mayo with lots of minced garlic stirred in. It was a very popular side dish or appetizer. I have found a couple local restaurants that make them, but I was spurred into making these by a friend whose grocery delivery contained a large number of plantains. She was asking, what can I do with these? This was my suggestion.
Banana bread is one of the standard comfort foods, especially in this time of staying home. I think it’s one of the dishes I’ve seen most people post about making at least once.
I know that I’m never good about using up all of the bananas in a bunch. I buy them with the best of intentions, and then, suddenly, there are 2-3 that are blackening on the counter. What to do? The answer is obvious: banana bread.
So, you probably already have a recipe for regular banana bread. But what about peanut butter? I’ve been using this recipe from Cooking Light for years. It adds a few healthy ingredients to make this indulgent comfort food a little bit better for you–without sacrificing flavor. And, did I mention there is peanut butter?
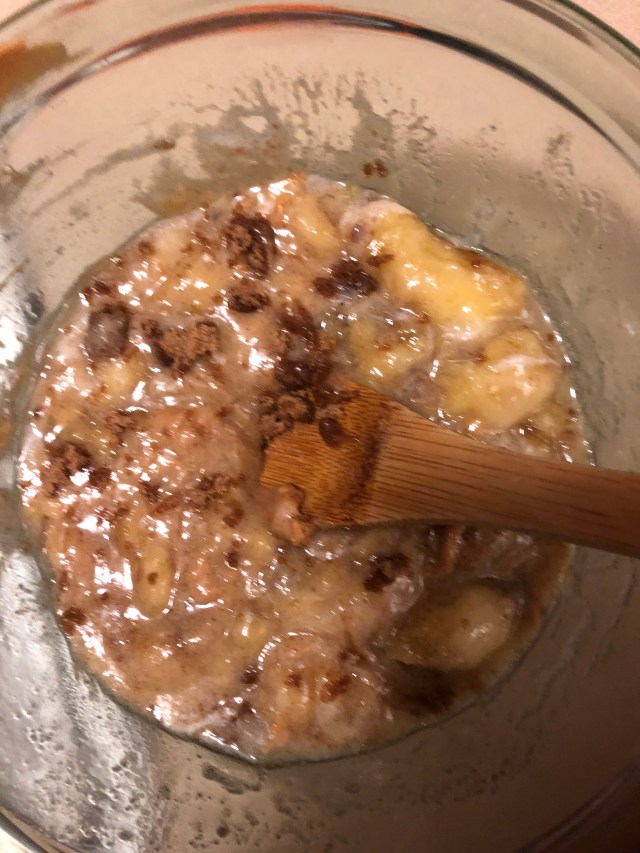
To get started, put the oven to 350 degrees. Take those 2-3 overripe bananas and mash them in a bowl. Stir in 1/3 cup of plain yogurt (vanilla is also fine) and 1/3 cup of peanut butter. Then add 3 Tablespoons of melted butter and 2 eggs. Put 1/2 cup of granulated sugar and 1/2 cup of packed brown sugar.
all ready to stir
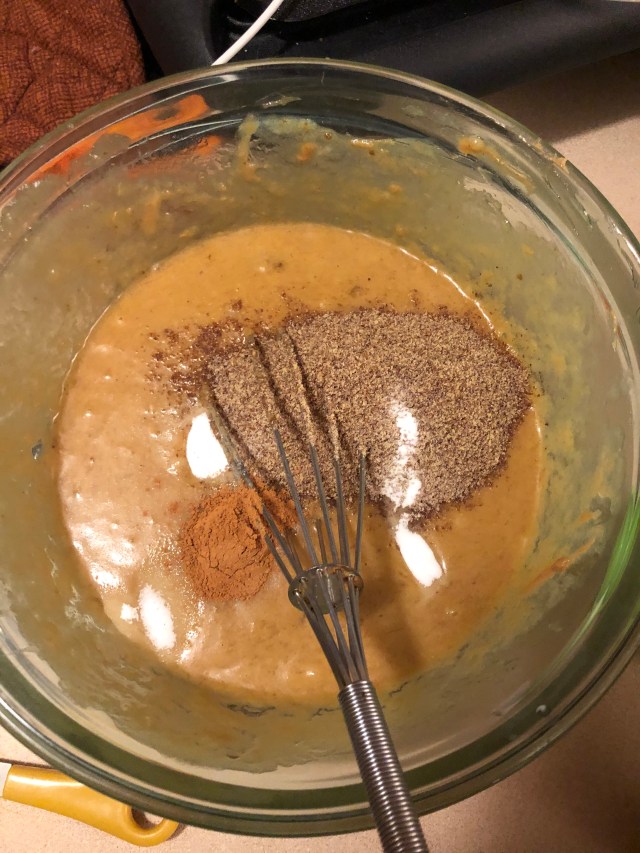
Now it’s time to add the dry ingredients! Put 1/4 cup ground flaxseed (I have several recipes that use this–including an amazing ginger cake, so I usually have some on hand), 3/4 tsp. baking soda, 1/2 tsp. salt, 1/2 tsp. cinnamon, 1/8 tsp. allspice, and 1 1/2 cups of flour into the mixture. Stir just until combined–don’t overstir.
adding the dry ingredients
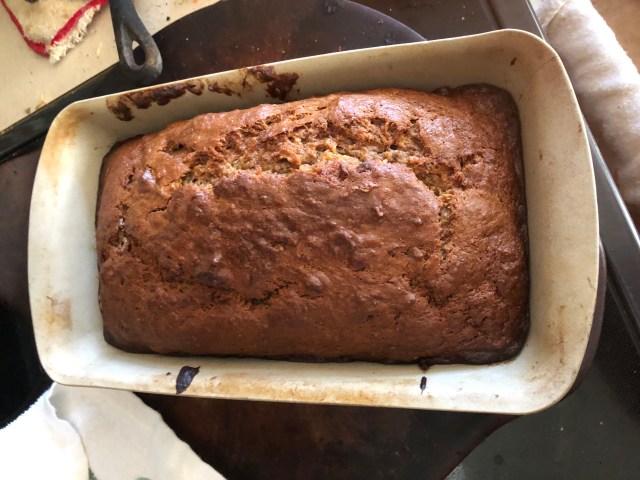
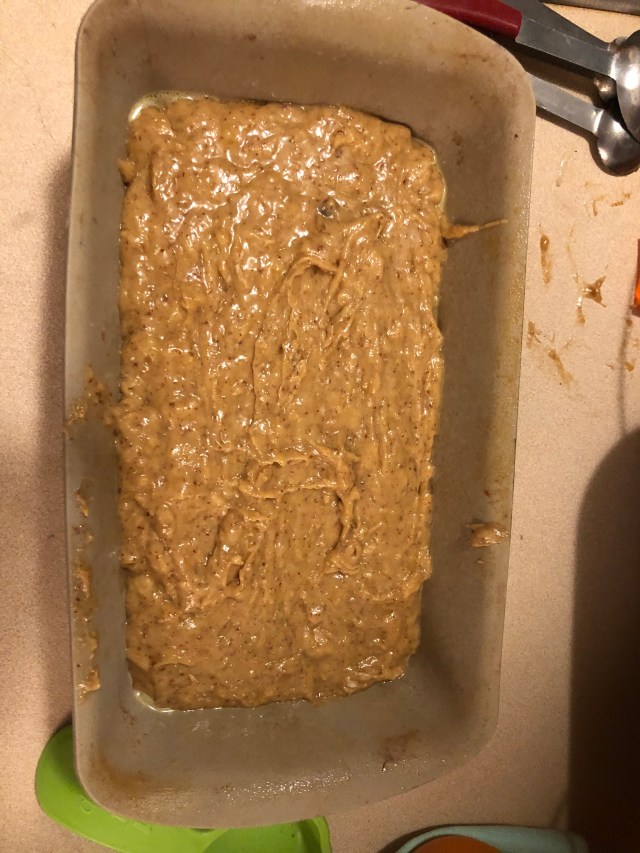
Spray a 9×5″ loaf pan with cooking spray. Pour in the batter. Bake for an hour and 5 minutes. Test for doneness with a toothpick inserted into the loaf. It should come out clean. Cool for 10 minutes in the pan before attempting to remove it to a wire rack to cool completely.
I love these clay pans!
Peanut Butter Banana Bread
original recipe from Cooking Light
1 1/2 cups mashed, ripe bananas (2-3)
1/3 cup plain yogurt (can be Greek, not required–I’ve also used vanilla)
1/3 cup creamy peanut butter
3 Tablespoons butter, melted
2 large eggs
1/2 cup granulated sugar
1/2 cup packed brown sugar
1 1/2 cups all purpose flour
1/4 cup ground flaxseed
3/4 teaspoon baking soda
1/2 teaspoon salt
1/2 teaspoon ground cinnamon
Preheat oven to 350 degrees.
To prepare bread, combine first 5 ingredients in a large bowl. Beat with mixer (or by hand). Add granulated and brown sugars; beat until blended.
Lightly spoon flour into dry measuring cups; level with a knife. Combine flour and next 5 ingredients (through allspice) in a small bowl. Add flour mixture to banana mixture; stir until just combined. Pour batter into a 9×5″ loaf pan coated with cooking spray. Bake at 350 degrees for 1 hour and 5 minutes or until a wooden pick inserted in center comes out clean. Remove from oven; cool in pan 10 minutes. Remove bread from pan to a wire rack. Cool.
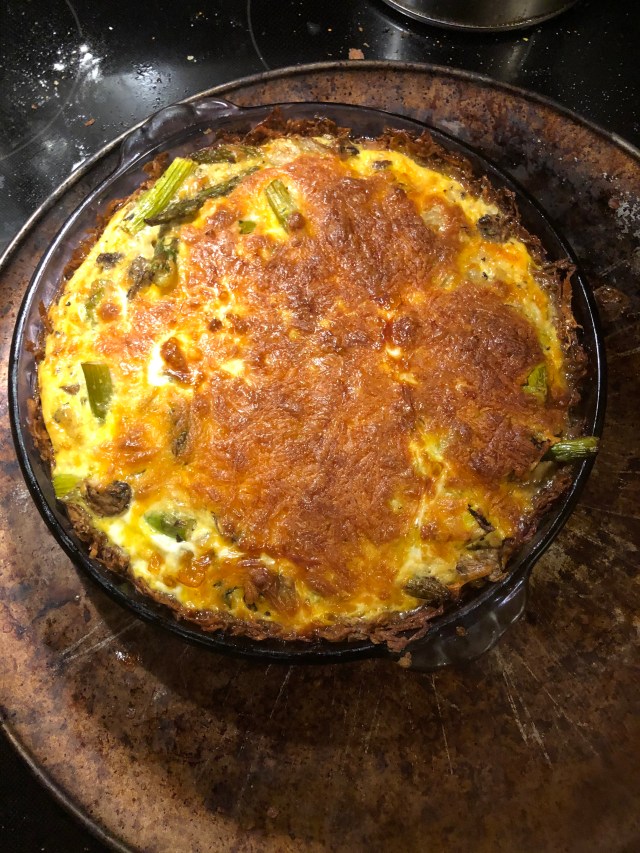
I love garlic!! I had been taking the Garlic Lovers Cookbooks out of my local library every once in a while for years. These are cookbooks that come from the Gilroy Garlic Festival. And then….I found my very own copy of one of them!! So, yes, I have many garlic laced recipes. And this cheese pie with a potato crust is an essential spring time recipe!
Fair warning–it has several steps and takes a while. You might should have a cheese snack before you start, to tide you over.
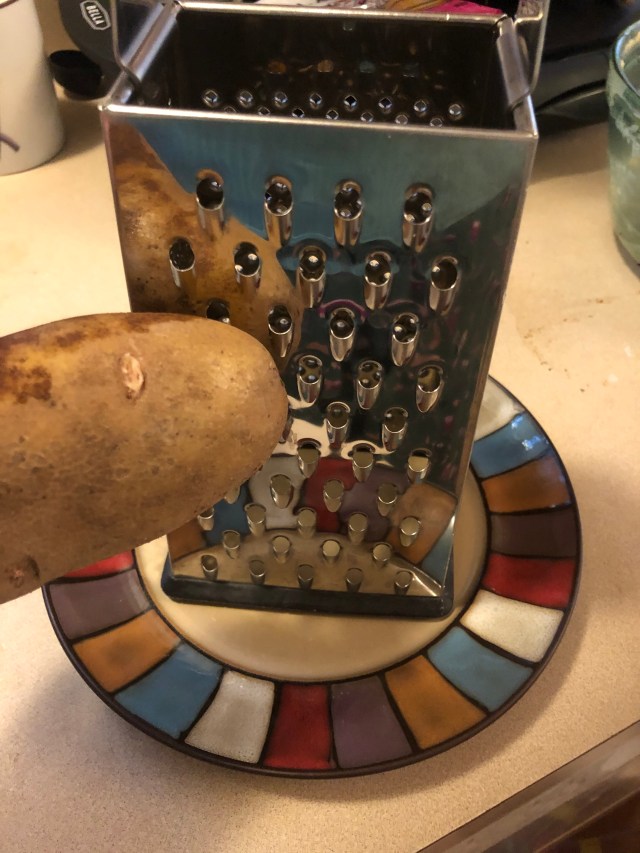
Then, we start the crust. Preheat the oven to 400 degrees, so it will be ready by the time your crust is. Then grate 2 potatoes. I use a box grater, and place a plate underneath to catch all the shreds.
You can peel the potatoes, but I usually don’t bother. Lots of vitamins in the skin!
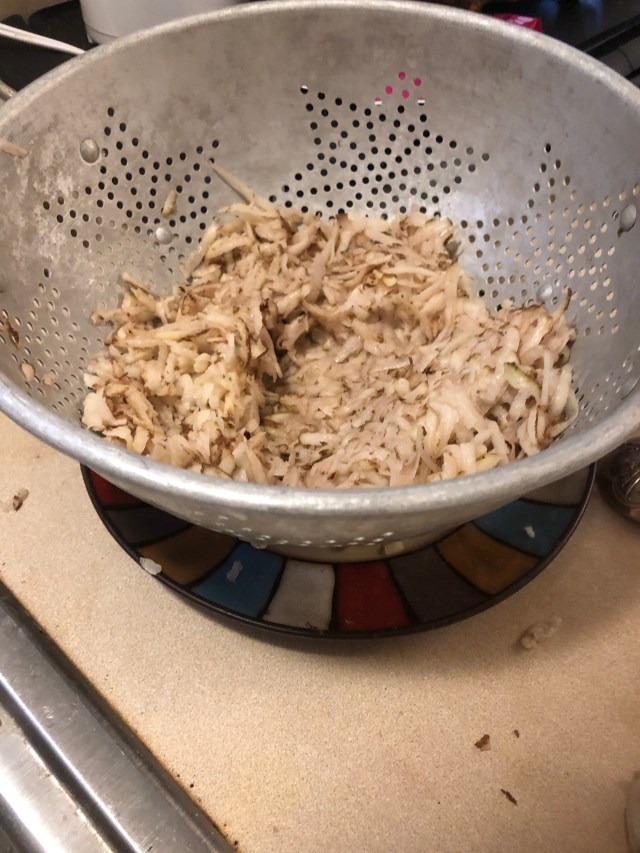
Combine the potato with 1/2 teaspoon of salt and put them in a colander to drain for 10 minutes. After that, you’ll want to squish all the moisture out that you can. You won’t want a soggy crust.
You can drain the colander in a sink or over a plate. I used the sink first, and then used the plate to catch any remaining drips.
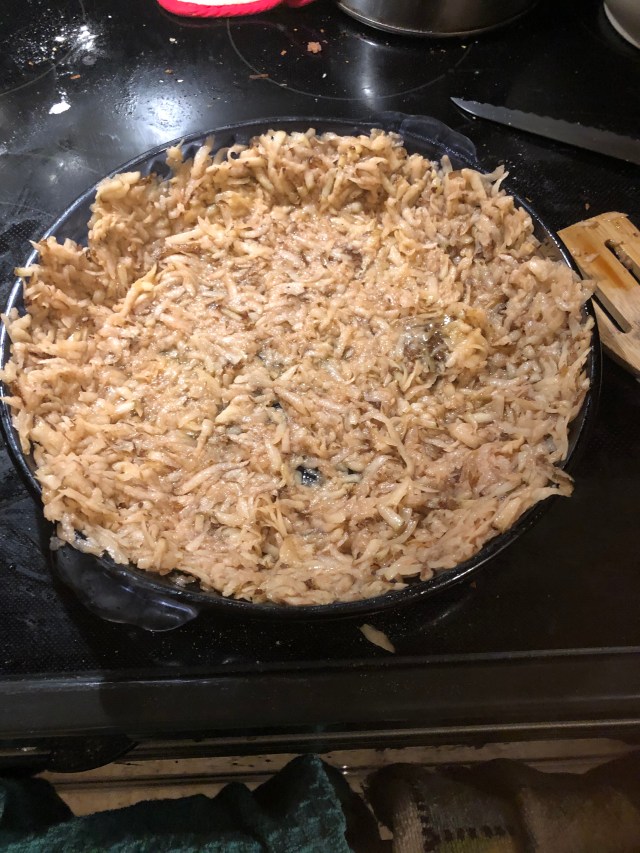
Once the potatoes are dry, combine them with 1 beaten egg. Press the crust to the sides and bottom of an oiled 9″ pie pan. Bake for 40-45 minutes.
pressing the crust into the pie plate
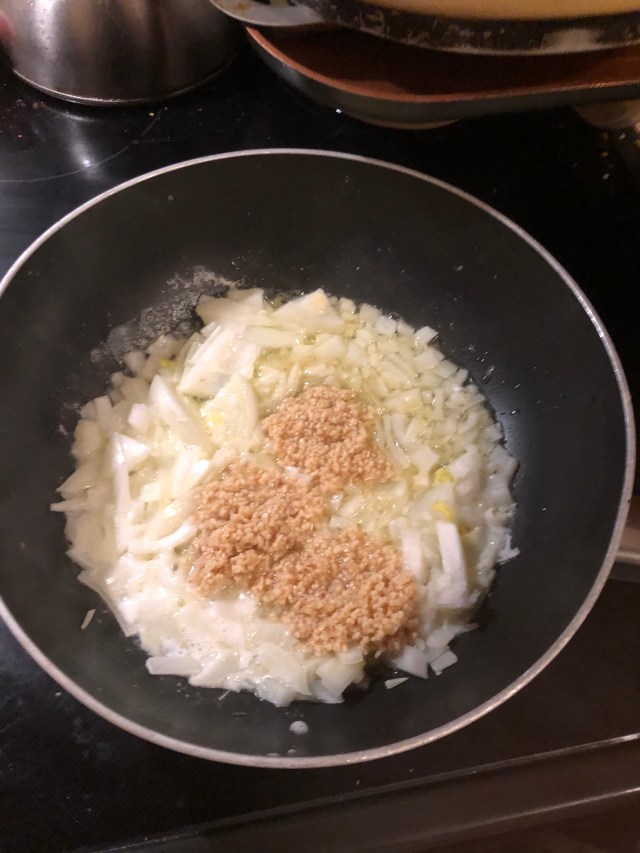
Towards the end of the baking period, you’ll want to work on the filling. Peel and crush 3 cloves of garlic (or more….we’re talking garlic here!) Chop a green onion. Chop 15 medium sized mushrooms (I bought one pint sized container, and that worked fine). Trim a bunch of asparagus and chop into bite sized pieces. Saute garlic and onion a few minutes in some butter.
I didn’t have green onion, so I used a regular onion and a lot of garlic
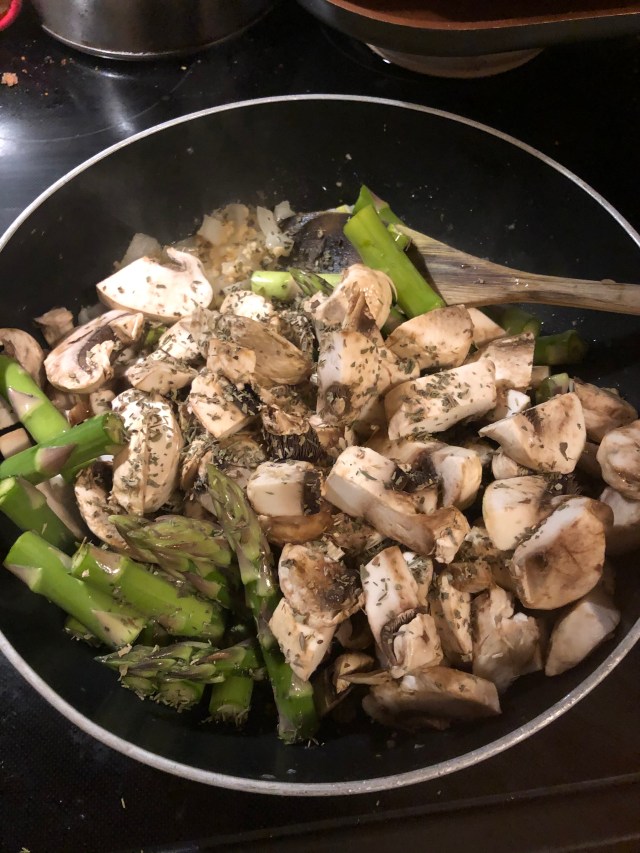
Add asparagus and mushrooms. Season with a dash of thyme and 1/2 teaspoon of dried basil, along with 1/2 teaspoon of salt. Put a lid on it, and cook for about 10 minutes. Check on it once in a while and give it a stir.
Before I put the cover on. Look at those yummy veg!
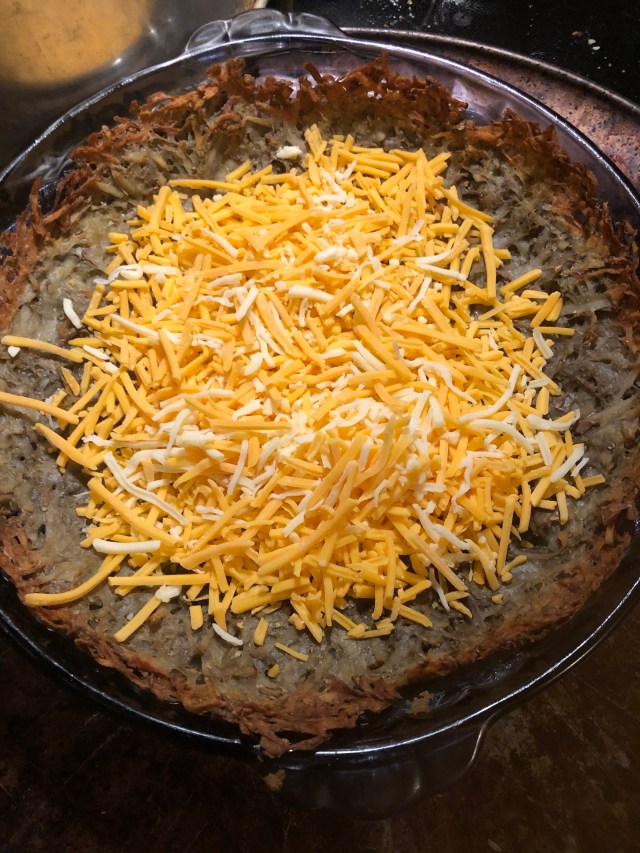
Now, it’s time to assemble the pie! Put about a cup of shredded cheese over the crust, which should be done baking by now. Turn the oven down to 375 degrees.
cheese sprinkled on the baked crust
Place the sauteed veg on top. Beat 2 eggs with 1/4 cup milk and pour over the top. Sprinkle the rest of the shredded cheese over the top. Bake at 375 degrees for 35-40 minutes.
all ready for the oven!
Garlic Goddess Cheese Pie (from The Garlic Lovers Cookbook 1982)
Potato Crust
2 large raw potatoes
1/2 tsp. salt
1 large beaten egg
Filling
3 large cloves fresh garlic (or more)
1 green onion (I used one regular onion)
a bunch asparagus
15 medium sized mushrooms (I used a pint container)
3 Tbs. butter (or oil, for sauteeing)
1/2 tsp. salt
1/2 tsp. dried basil
dash thyme
2 1/4 heaping cups grated cheddar cheese
2 large eggs
1/4 cup milk
Preheat oven to 400 degrees. Pare and grate potatoes. Combine with salt and turn into a colander. Let drain 10 minutes, then squeeze out excess moisture. Combine with egg. Pat into oiled 9″ pie pan to make a crust. Bake in preheated oven 40-45 minutes. Peel and crush garlic; trim and chop onion. Trim and chop asparagus tips and mushrooms. Saute garlic and onion in butter a few minutes. Add asparagus and mushrooms with seasonings. Cover and cook 10 minutes, stirring occasionally. Spread half the cheese into the baked crust, then the vegetable saute. Cover with remaining cheese. Beat eggs with milk and pour over the pie. Bake at 375 degrees for 35-40 minutes.
We’re all familiar with breakfast sandwiches made with English muffins. Or eating them with butter or jam. Or making little pizzas out of them, like I did growing up. These are so versatile. I’ve taken to using them more than I use bread!
And this recipe is one I’ve had for many years. It originally came from a 70’s Fleischmann’s Yeast Cookbook, complete with harvest yellow dishes and table settings that would have been at home in my grad school apartment with the carpeted kitchen (My advice–never put carpet in a kitchen. Do you know what happens if you drop an egg???)
Before we get started–a note on yeast in these days of quarantine. If you have a bulk store, start looking for it there.
Forgive Sharp Shopper for misspelling the brand name of the yeast. I looked it up to be sure I was spelling it correctly.
I got this large container of yeast at Sharp Shopper in Harrisonburg, VA. Waynesboro, VA also has one of these stores. If you have a population of Amish or Mennonites in your area, you will often find bulk sections that sell yeast in large containers like this. A container of this size is often labeled to expire in 6 months. In non-quarantine times, I can’t use all of the yeast in that time period. (We’ll see if I can use it all this time. Challenge accepted!)
A package of yeast= 2 3/4 teaspoons of yeast from this package. A Tablespoon=3 teaspoons. I usually round up and use a teaspoon. My recipe will contain the option of 1 Tbs yeast or 1 pkg.
Let’s get started!
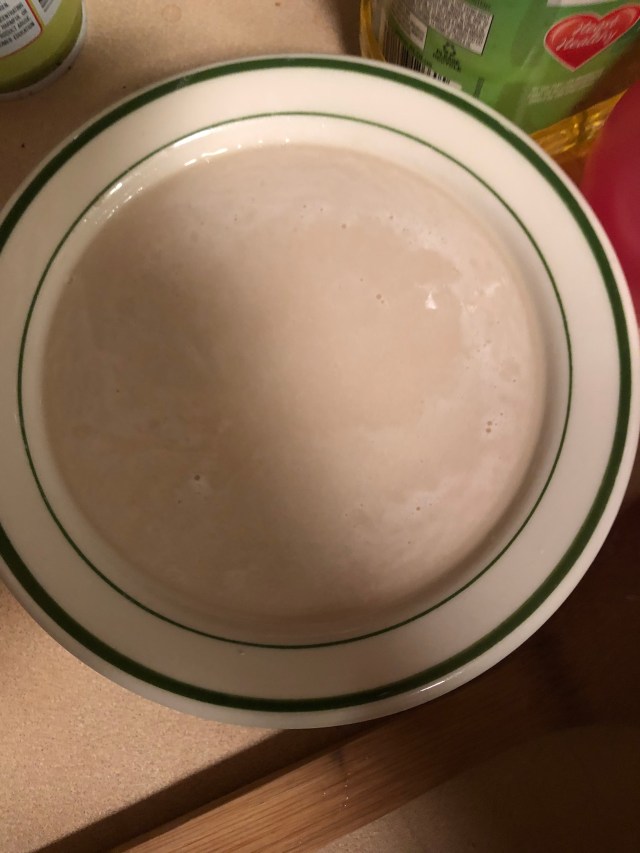
First, take a cup of milk and scald it. I usually do this in the microwave and then remove the skin and get rid of it. To this scalded milk, add 2 Tablespoons of sugar, 1 teaspoon of salt, and 3 Tablespoons of butter. A note on yeast baking–always put the amount of salt required. If you don’t, your bread will not rise properly. There are some recipes that you can cut salt. This is NOT one of them.
My butter is melty, but if the butter doesn’t melt completely, that is ok, too.
Set that mixture aside to cool to lukewarm. Meanwhile, in warm water (105-115 degrees), sprinkle in yeast and stir to dissolve. I find that turning the tap and running it until warm is usually enough to get water into this range. Microwaving the water means I usually have to let it cool, because otherwise I’ll kill the yeast. This is also why the milk mixture is cooling. Lukewarm means <105 degrees if you want to be specific. I usually don’t take the milk’s temperature, but touch it to see if it’s cooled.
1 Tablespoon of yeast dissolved into 1 cup of warm water
Now, stir the yeast into the bowl with the lukewarm yeast mixture and 3 cups of flour. Beat until smooth. Some people are all about their dough hooks and fancy stand mixers, but I’m an old-fashioned do it by hand girl. Add enough additional flour to make a stiff dough. This means 2-3 more cups flour. You can tell when the dough is stiff enough because you may have trouble stirring it with a spoon. You might even put the last of the flour in with your hands in the kneading step.
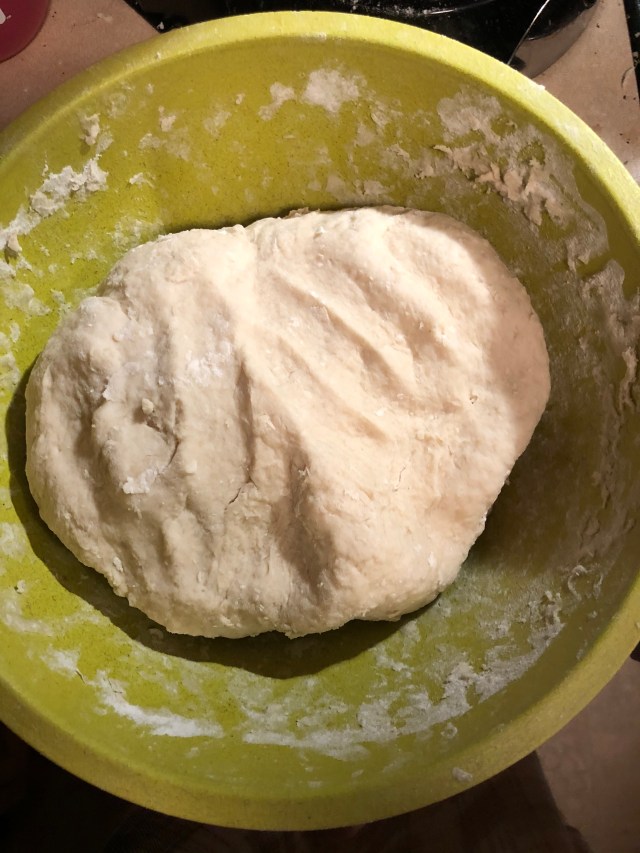
The directions state to do your kneading on a floured flat surface. I’ve become enamored of kneading in my trusty bamboo bowl because it cuts down on the mess. You should knead for about 2 minutes or until the dough is not too sticky and can be formed into a ball.
This dough still had my handprints on it! Ready to rise!
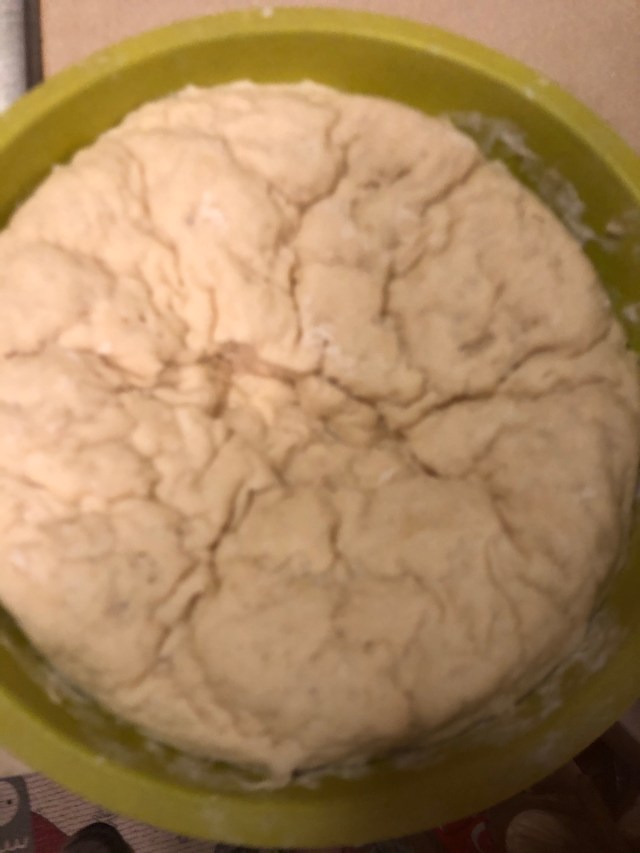
Cover the bowl with a tea towel or similar (make sure it’s not one of those fuzzy ones or you may end up with fuzzy bits in the dough as it rises) and set in a warm area for about an hour, or until dough is doubled.
Then, punch the dough down.
Punched dough
Next, you’ll need a cutter to create a circle shape. I have a set of biscuit cutters or sometimes I’ll use this crimping cutter.
crimping cutter
Divide the dough in half. Spread some cornmeal on the counter and use a rolling pin (or your hands–whatever works!) to pat half the dough into 1/2″ thickness. Use the cutter to cut out circle shapes. Take all of the ends and pat them together again. If it’s large enough to cut another circle, do it. If not, pat the ends into a circle shape that is similar to the others. Yes, by nature, you’ll have a couple of imperfect muffins. They taste just as good!
Repeat with the other half of the dough. Place all of the cut out circles on greased baking sheets. I find it usually takes 2 baking sheets to hold them.
cut out muffins, waiting to rise
Cover the muffins with a tea towel (again, not a fuzzy one!) and set aside for about a half hour to rise until they have doubled in size.
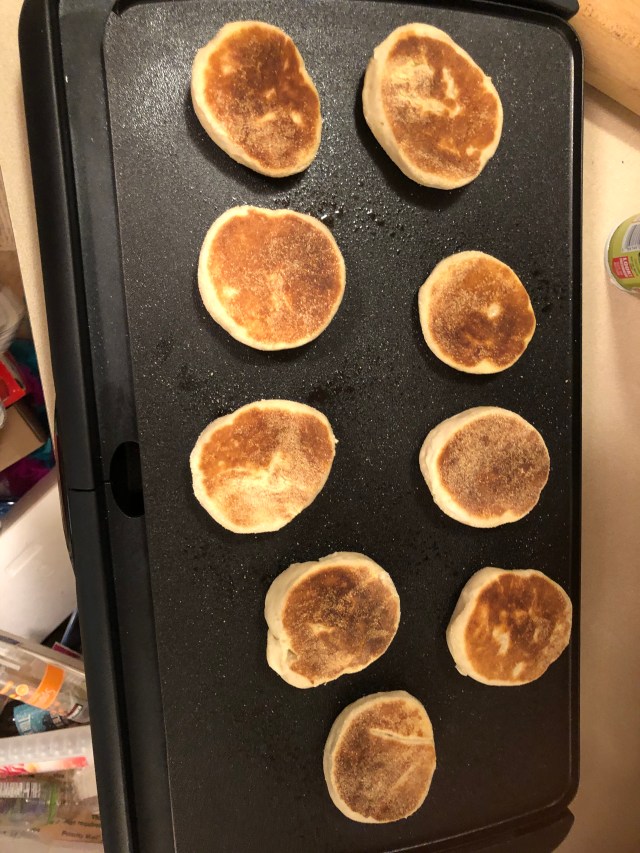
To cook, place on a lightly greased/oiled griddle. Cook until the bottom is browned sufficiently. Flip them over and repeat. I do find that if they have risen a lot, the middle doesn’t get done. But, as I always toast them no matter what I’m making with them, this is usually not a problem. Just be aware that the middles might be doughy in the very center if the muffins have risen a lot.
Cut in half, toast, and eat! Or use as the base for a breakfast sandwich or pizza or whatever else you want!
English Muffiins
1 C. milk
2 T. sugar
1 t. salt
3 T. butter
1 c. warm water (105-115 degrees)
1 T. yeast (or 1 pkg)
5-6 cups flour
cornmeal for cutting
Scald milk; stir in sugar, salt, and butter. Cool to lukewarm. Measure warm water into large warm bowl. Sprinkle in yeast; stir until dissolved. Stir in lukewarm milk mixture and 3 cups flour; beat until smooth. Add enough additional flour to make a stiff dough. Turn onto floured surface; knead about 2 minutes or until dough is manageable and can be formed into a ball. (Dough may be slightly sticky.) Place in greased bowl, turning to grease top. Cover, let rise in warm place, free from drafts, until doubled, about 1 hour.
Punch dough down; divide in half. On a board sprinkled with corn meal, pat each half of dough into 1/2″ thickness. Cut into circles with a floured 3″ cookie cutter. Place on greased baking sheets about 2″ apart. Cover; let rise in warm place, until doubled, about 1/2 hour.
Place on a lightly greased/oiled griddle or skillet set to med-hot. Bake until well-browned. Cool on wire racks.
If you prefer a whole wheat version, substitute 1 1/2 cups whole wheat flour for that amount of white flour.
This is my classic Easter candy favorite. It is, in my opinion, better than Reese’s. Often made by grandmothers and sold by church youth groups, now you, too, can make this tasty treat!
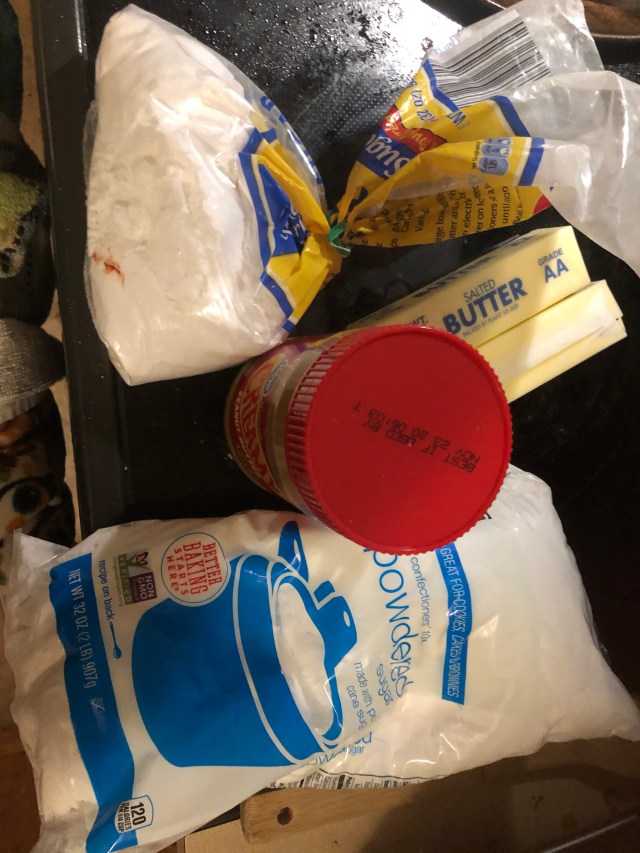
This is one of those recipes that doesn’t really have a recipe. Here is a picture of the ingredients:
ingredients
So, you’ll need 2 sticks of butter, at least 1 lb. of powdered sugar (I used all of the open bag and part of the new one), and at least 1 18 oz jar of peanut butter, preferably creamy (I exceeded this amount and probably put another half jar in). You can also add a splash of vanilla, if you’d like, but I omitted that.
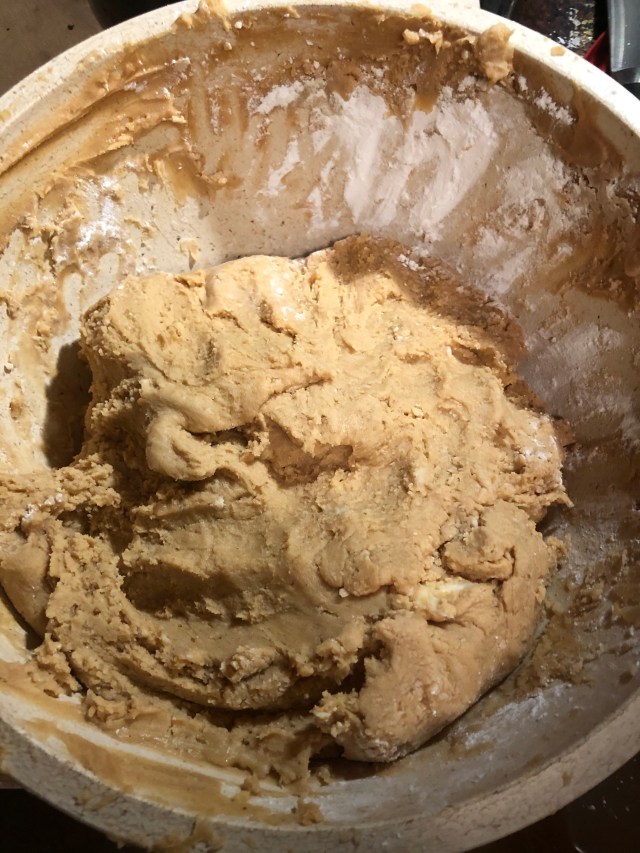
So, begin with butter and peanut butter and blend together until you don’t have any sections that are just butter or peanut butter. Add powdered sugar, also called confectioner’s sugar, until the dough reaches a consistency that can be shaped with the hands. You may have to finish mixing the dough with your hands, which, of course, you washed before beginning this process (we all wash our hands quite well and quite often, these days). It’s also ok to take a taste test. Does the flavor taste good to you? I had to go and add more peanut butter until it did. Then I had to add more powdered sugar until the consistency was corrected. It’s a process. You’ve eaten peanut butter eggs before–you’ll know when the taste is right.
it’s time to finish this dough by hand–making sure to get the sugar off the sides of bowl.
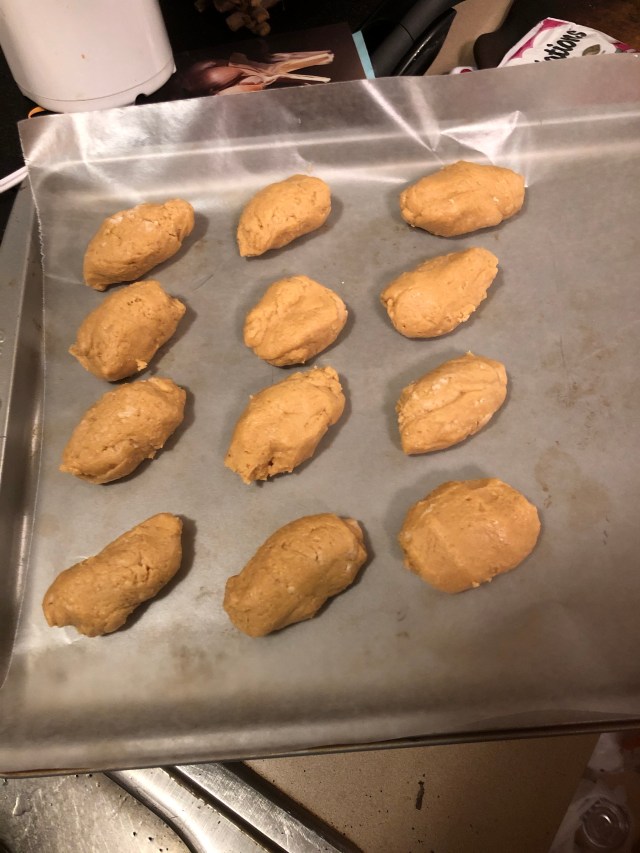
Once your dough is ready, shape it into eggs that seem like they would be a portion you’d want to eat in one sitting. I suppose it could be a giant egg, if you really wanted it to. Put the eggs on a baking sheet lined with waxed paper. I ended up making about a sheet and a half of eggs. Then refrigerate the eggs for a few hours or overnight. I did this dough portion at midnight, of course, and coated them with chocolate the next afternoon.
finished egg-shapes
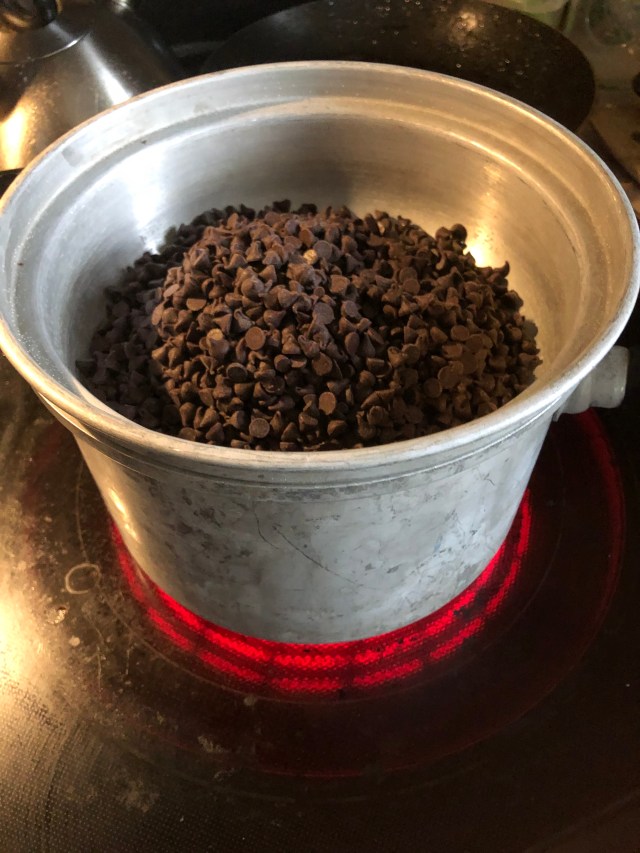
Then, you’ll need chocolate. I suggest melting chocolate chips in a double boiler. I prefer darker chocolate, rather than milk chocolate, but had only semi-sweet in the pantry, so I went with that. I used about a bag and a half of chips. A double boiler will allow the chocolate to melt without scorching. I inherited my double boiler from my grandmother. If you are melting chips in a microwave, make sure to use small bursts of heat, like 30 second intervals, with stirring in between.
a double boiler has a pot filled with water that simmers to melt the chocolate safely.
Then, carefully dip the eggs into the melted chocolate, turning to coat. Drizzle chocolate over any areas that you might have missed. This is another reason for the waxed paper–the chocolate will be easier to remove from waxed paper. Once all of the eggs are coated, you can spoon any remaining chocolate onto the waxed paper and add sprinkles to make treats. (I had no remaining chocolate). Refrigerate the eggs until the chocolate cools and hardens.
Depending on where you live, you might choose for the eggs to stay in the refrigerator to avoid melting chocolate. I sometimes remove the eggs from waxed papers and store in a tin in the fridge.
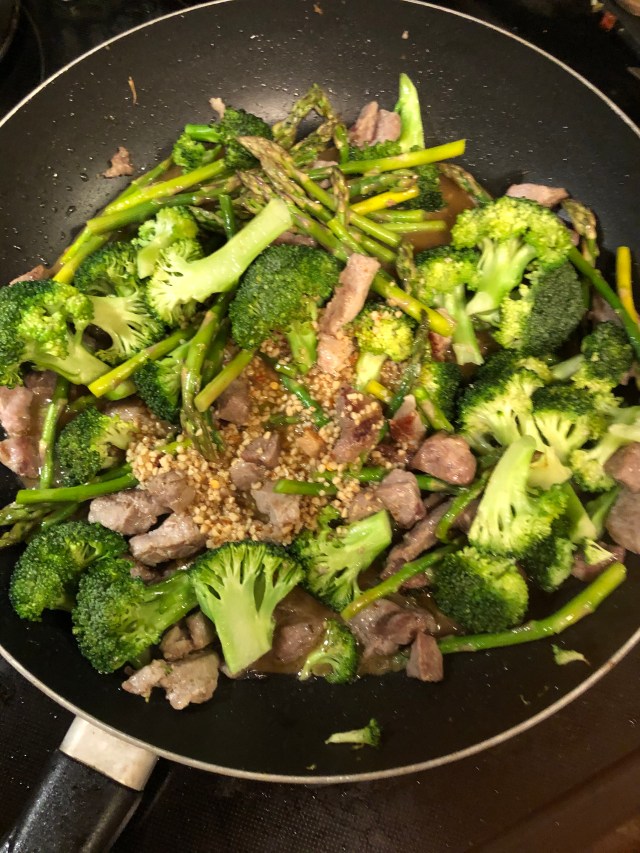
my finished stir fry used pork, broccoli, and asparagus
Stir fry is an easy way to use whatever hardy vegetables you have lying around. If you don’t have fresh veg, you can use frozen. You can add meat or tofu or shrimp. Making a simple citrus-based sauce is not that difficult. Yes, I used a couple of ingredients that most people might not keep in their pantries, but you could easily substitute or leave them out. Or add to a shopping list for a future store trip!
To begin, get out a wok. I used to have a wok. It was an inexpensive wok that had a non-stick coating. It was wonderful and enormous and lived on a hook on the wall above the trash can. Alas, the non-stick coating turned out to be non-stay, and rust spots appeared, so the wok will be cited no more.
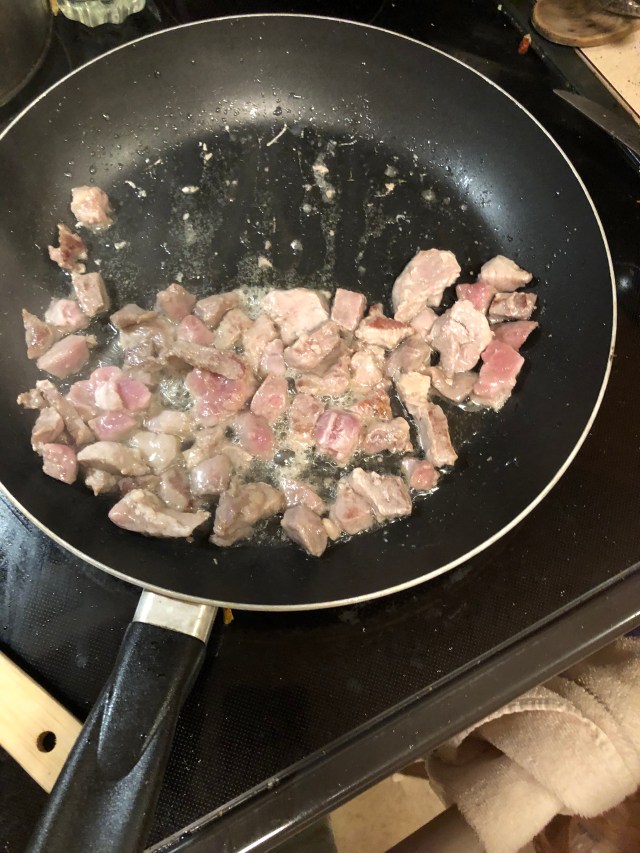
My point is, fancy, specific equipment is not required. A skillet with relatively high sides will do. If you are going to use meat, cut the meat into bite sized pieces while you heat some oil in the skillet. I’d recommend against using olive oil, because stir fry works best with a quick application of high heat, and a peanut or canola or similar oil will the heat more easily. I had some pork chops, so I went with pork.
brown the meat (if using meat) in oil
While the meat browns, choose vegetables. I had some broccoli that was starting to get a little sad looking and some asparagus. This is use what you have time! Do make sure to stick to veg that will stand up to a stir fry. Other good options include green beans, peppers, onions, carrots, sugar snap peas, mushrooms, anything that will keep a crisp-tender texture. So, avoid tomatoes or canned peas or anything else that will mush. Add the veg to the skillet. Stir and fry!
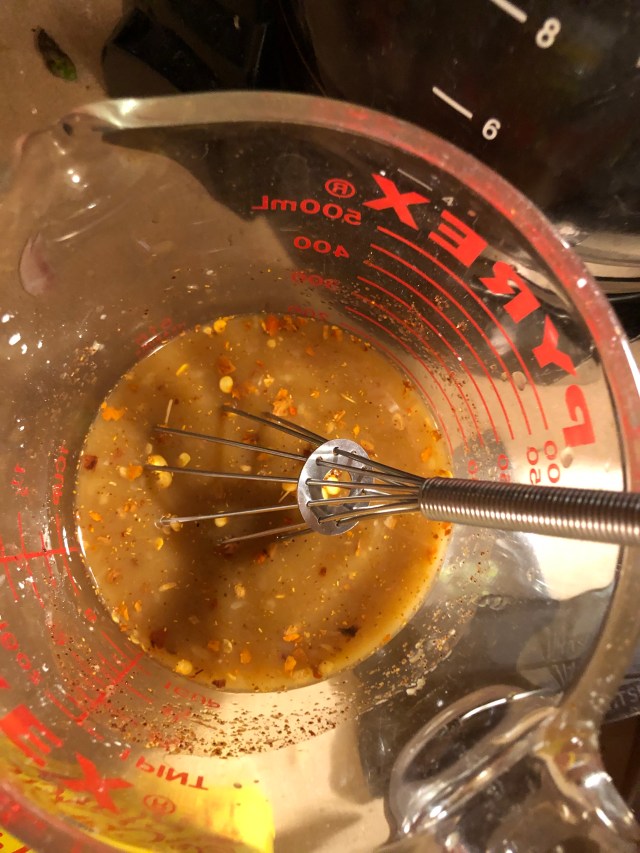
While that’s going on, it’s time to make the sauce! I used orange juice as a base. I had a carton of orange juice in the fridge, so I took a measuring cup and put 1/2 cup in. I then added 1 Tablespoon of soy sauce (my favorite is this mushroom flavored sauce I get from the international foods store, but regular is fine…even a low sodium version!)
2 ingredients you may not have on hand, but I love in stir fry are seasoned rice vinegar and mirin. Mirin is a sweet rice wine. I put 1 Tablespoon of each. You could use plain rice vinegar or even plain vinegar, but I’d definitely add a bit of extra garlic if you do! You could use regular rice wine or even white cooking wine if you have that.
seasoned rice vinegar and mirin
You will also want to add a bit of spice to your sauce. I recommend about a half teaspoon of red pepper flakes and a whole lot of minced garlic. I’m trying to remember how much is in there, and I’d say at least 3 cloves. But I always add at least a clove more than any recipe calls for. This is your recipe, so you choose how much you put! Whisk it all up in the measuring cup. Add a little bit (a Tablespoon should do) of corn starch to thicken it up a bit.
you can’t see all the garlic in here, but just wait for the next picture…
The measuring cup makes it easy to pour the sauce into the skillet.
Sauce over the veggies and meat. Look at all the garlic!!
Cook until the sauce thickens a little. Serve over rice.
Citrus-based Stir Fry
3/4-1 lb meat (I used pork) or veggie option
several cups chopped vegetables that will retain a crisp-tender texture (I used broccoli and asparagus)
1/2 cup orange juice
1 Tablespoon soy sauce
1 Tablespoon mirin (or rice wine or cooking wine)
1 Tablespoon seasoned rice vinegar (or rice vinegar or vinegar)
1/2 teaspoon red pepper flakes (to taste–I like a bit of heat)
3 (or more!!) cloves minced garlic
1 Tablespoon corn starch
In a skillet with high sides or a wok, heat 1-2 Tablespoons oil. Cut meat into bite sized pieces. Brown meat in oil. Chop veg into bite sized pieces. Add to skillet with meat. Stir and fry until crisp-tender. In a liquid measuring cup, put 1/2 cup of orange juice. Add other sauce ingredients. Season to taste. Pour over meat and veg. Stir until sauce thickens. Serve over rice.
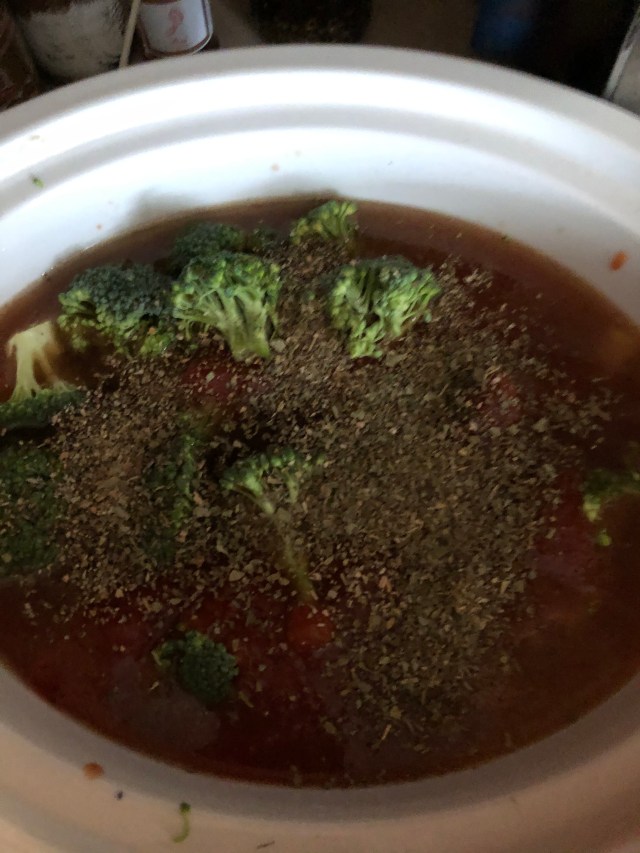
I love how easy slow cookers are. Do a little browning of meat, a little chopping of veg, a little adding of spices, throw it in the pot, and wait. Hours of free yummy scents! Then an amazing meal!
I also love soup, not the least because a recipe is more of a guideline. I’ll post the whole original recipe at the end, and you can, as I have (and you’ll see in the instructions I put throughout) use whatever you have around the house to make the recipe yours. One change I always make is to replace zucchini, to which I am allergic, with another vegetable. I had some broccoli, so into the pot it went! I also had some spinach that was about to go, so I put it in when it was time to add the pasta. Turned out just fine! I also decided to replace the orzo or bowtie pasta with some cheese tortellini–that was also a good replacement! Don’t worry so much about putting the same vegetables or pastas or even spices. Do make sure you have enough liquid to make a soup. And whatever you do, will likely turn out fine, so long as you know that those options go harmonically together.
So, let’s get started!
First, take a skillet, a rather large one, and heat some oil, about a tablespoon. Add the sausages (I would suggest skinning the Italian sausage and tossing the casings. The recipe also called for smoked sausage, which I omitted in my version). Once the meat is browned, add it to the slow cooker.
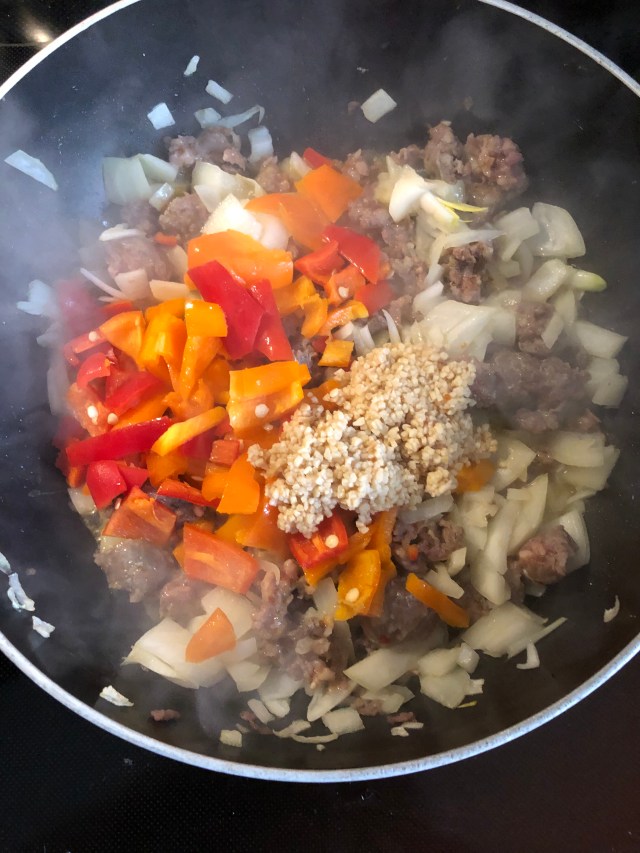
Next, take 2 large onions, chop them, and cook them until softened in the skillet that is already heated. Once softened, add garlic, cook about a minute longer. I also added the chopped pepper (recipe called for green, I used orange and yellow mini peppers) when I put the onion. Then I put the veg into the slow cooker.
I left the meat in with the veg for browning.
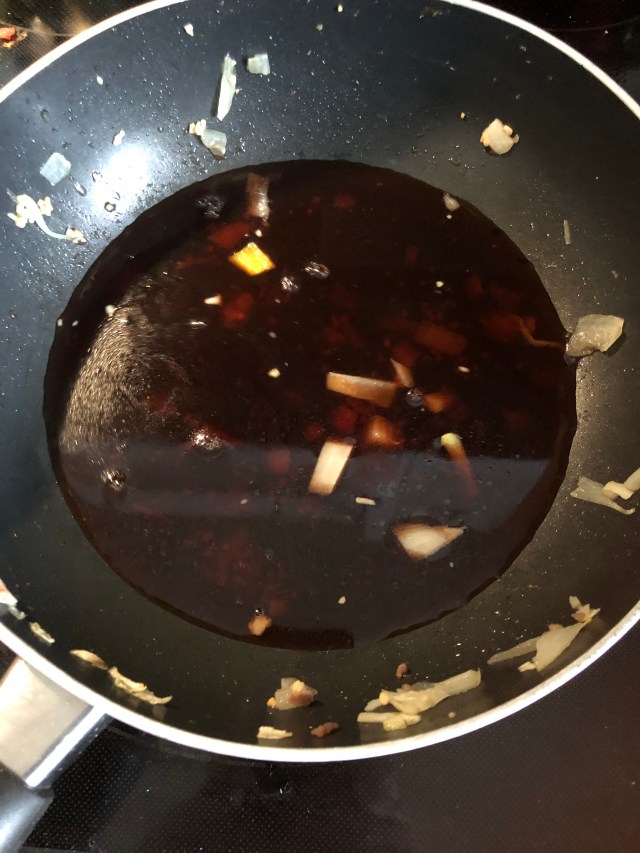
Then it was time to deglaze the skillet with wine. Deglazing is pretty much making sure that I got all of the bits stuck to the bottom of the pan. Then add the wine to the slow cooker.
deglazing the pan–I need to scrape all of those onions and other bits off the sides, too.
Then, add the rest of the ingredients to the slow cooker. I put broccoli instead of zucchini and the pepper had already been softened and added, so now it was time for the canned tomatoes, beef broth, water, basil, oregano, and salt and pepper. Then, cover and cook on low for 6-8 hours. You can also use the high setting and cook it half the recommended time.
Before I gave it a good stir and put on the lid
After the time is up, add the pasta. The recipe calls for orzo or bowties, either of which would be yummy. But I had some cheese tortellini that was calling to me, so that’s what I used. Then, make sure the setting is on high, cover, and cook about 30 minutes more, or until the pasta is cooked.
You can also sprinkle some cheese on the top!
Zuppa Romano
recipe from Slow Cooker Magic by Linda Rehberg and Lois Conway
1 Tablespoon olive oil
3/4 lb Italian sausage, crumbled
3/4 lb smoked sausage, such as kielbasa, sliced into 1/2″ pieces
2 large onions, chopped
1 clove garlic, minced (I used at least 3, because garlic!)
1 cup dry red wine, such as a cabernet or chianti
1 medium zucchini, diced into 1/2″ pieces
1 medium green pepper, stemmed, seeded, and diced into 1/2″ pieces
1 28 oz can crushed tomatoes in puree
1 10 oz can condensed beef broth (I used a salt-free packet I dissolved into water)
1 soup can-full water (I put about 2 cups, honestly)
1 teaspoon dried basil
1 teaspoon dried oregano
salt and pepper, to taste
4 oz orzo or bowtie pasta
Parmesan cheese garnish
In a large nonstick skillet, heat the oil over medium heat. Add the sausages and cook until browned, about 8 minutes. Transfer to the slow cooker with a slotted spoon.
Add the onion to the same skillet and cook until softened. Add the garlic; cook 1 minute more. Stir in the wine, bring to a boil, and scrape up any browned bits off the bottom of the pan. Pour the mixture into the slow cooker.
Add the zucchini, green pepper, tomatoes, broth, and water, basil, oregano, salt, and pepper to the slow cooker. Stir to combine. Cover and cook on low for 6-8 hours.
Turn the heat to high and add the orzo or pasta. Cover and cook 30 minutes more.
Taste before serving. If necessary, reseason with a dash of salt, pepper, and any other flavors that may have cooked out. Serve with grated Parmesan cheese on top, if desired.
Blueberry muffins are a classic comfort food. I grew up making muffins at least every few weeks. A basic muffin recipe was probably the first recipe I ever memorized, and it happened to be the same one we used in my 6th grade home ec class! While that was a versatile recipe that worked with any number of add-ons (cherry pie filling, chocolate chips, of course, blueberries!), this recipe caught my attention as an adult. It doesn’t use the classic muffin method of combining ingredients-it’s more of a cookie start. The original recipe (don’t recall where I found it–it’s been hand copied into my frequently used recipe book from the pre-internet days) also included a streusel topping. I felt like these were decadent enough without. You, of course, can add it if you want to.
To begin, preheat the oven to 400 degrees. Wash and dry the blueberries and set aside.
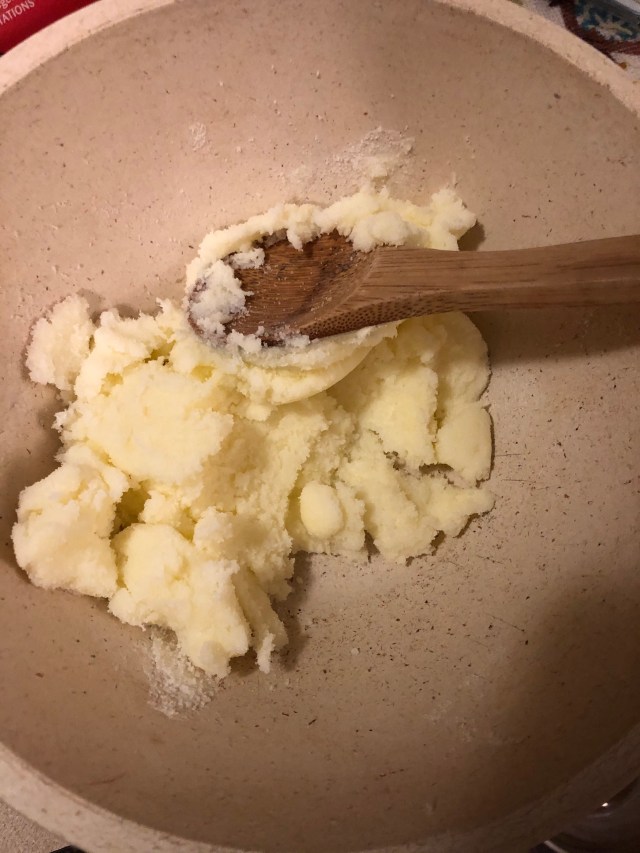
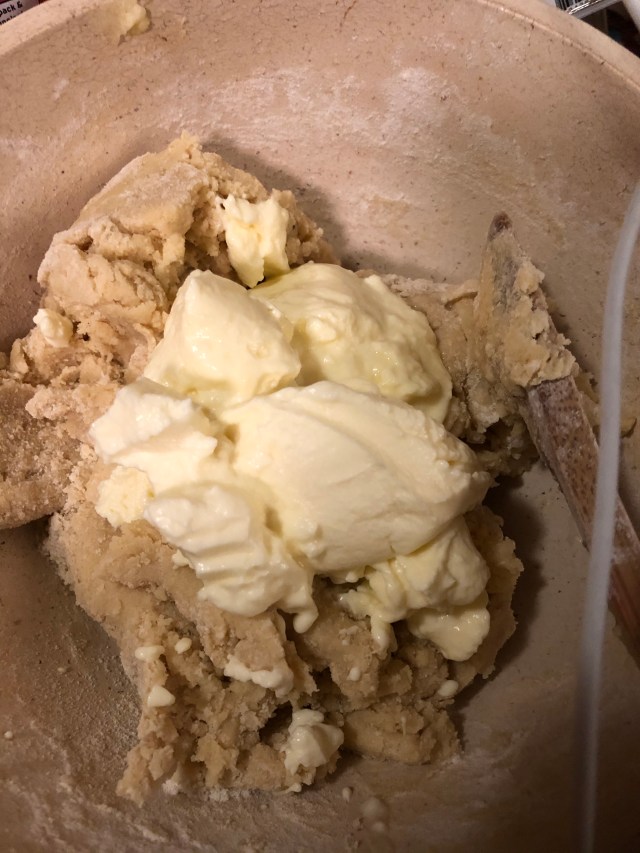
In a medium bowl, cream the butter and sugar. See, just like cookies!
creaming the butter and sugar
Next, beat in the eggs and vanilla.
eggs and vanilla (pre-beating)
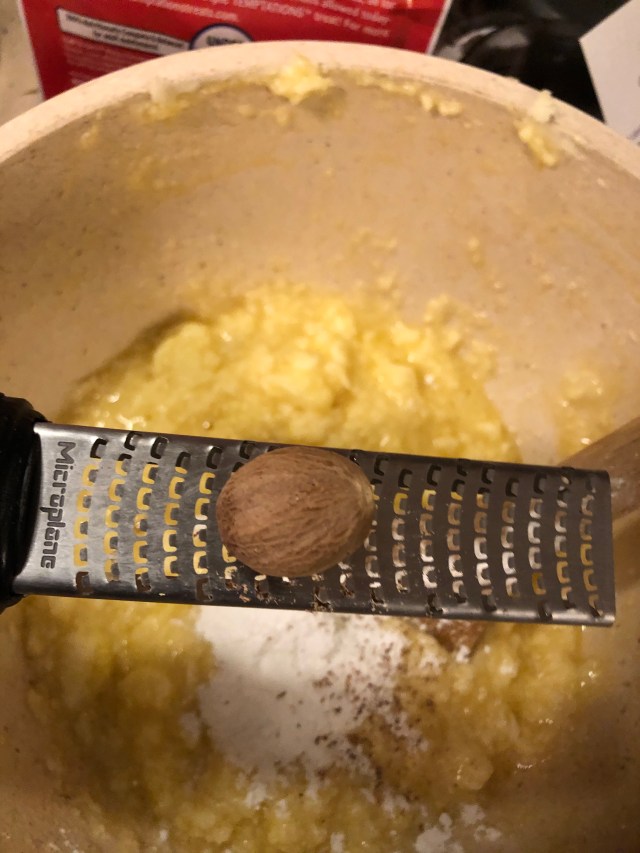
Next, it’s time for the dry ingredients. The instructions state to mix them all together and add in the flour mixture. I often mix in the smaller ingredients, here baking powder, salt, and freshly grated nutmeg, before adding the flour.
Of course, you can use regular nutmeg from a jar. But I have learned that nutmegs are not that expensive. A bag of 3 is about 79 cents in the Hispanic aisle of Food Lion and similarly priced at the International food store. One nutmeg will last a really long time unless you have one of those incidents where you go to grate it and drop the whole thing into your dough. I have never done this. (and if you believe that….)
run the nutmeg along a micrgrater and let the bits fall into the dough
Mix in the flour. Then fold in the lemon yogurt. This yogurt and the nutmeg are what really make this recipe special. These are beyond the flavors of basic muffins.
It usually takes more than one serving size container of lemon yogurt. Options include eating the remainder of the 2nd container or putting in some plain yogurt to make up the remaining 2 oz
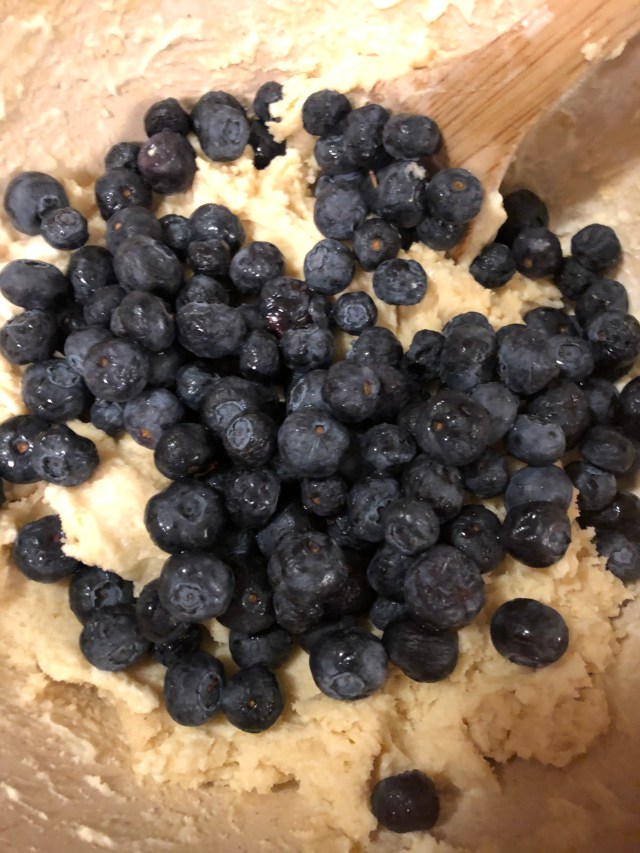
Fold in the blueberries. I left mine in a colander in the sink so they could dry. Some people suggest adding a coat of flour to the blueberries so they don’t sink to the bottom of the muffin, but I haven’t had too many sinking issues with this recipe.
fold in clean blueberries
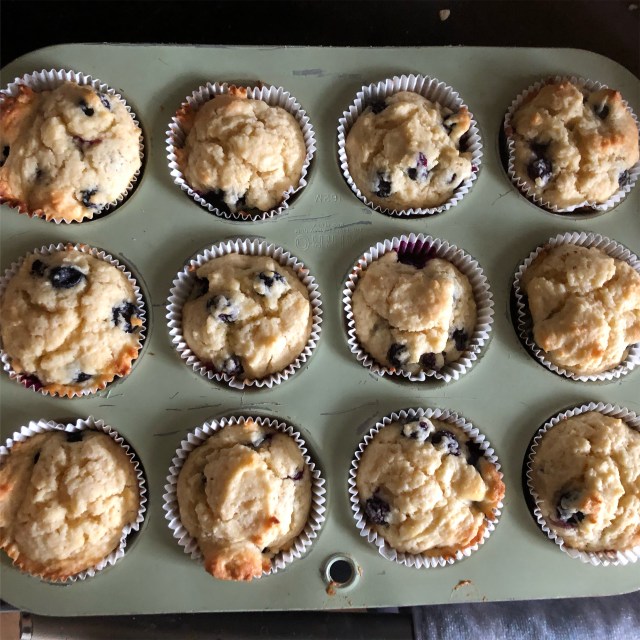
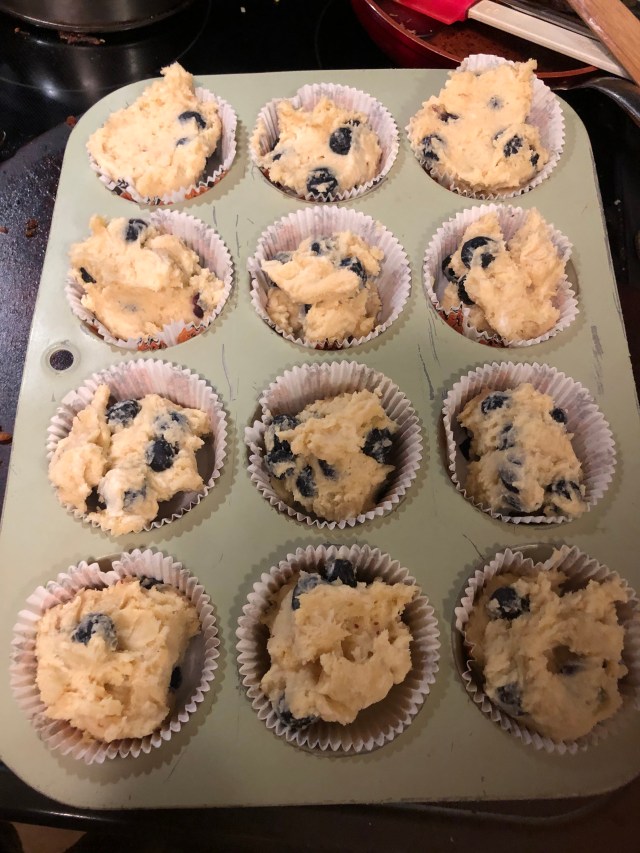
Next, it’s time to fill individual muffin cups with dough. I usually use cupcake liners. Please forgive that mine are Halloween themed in March. It’s definitely use what you have in the pantry time, not run to to the store to get neutral ones (I did obtain some neutral ones during a recent shopping trip, so the Halloween ones are safely back in the pantry for now). Most traditional muffin recipes make about a dozen, but this one makes 18ish. Not pictured are my 2 pans with 6 spots–one full and the other with 2 filled.
yes, those are little pumpkins printed on the liners
The baking instructions are a little weird. Bake at 400 degree for 10 minutes. Then reduce heat to 375 and bake 10 minutes more. So, total bake time of about 20 minutes (normal) but with 2 different temperatures.
The Recipe!
3 C. fresh blueberries (I suppose frozen would work but I’ve not tried this)
2 1/4 C. flour
1 Tablespoon baking powder
1/2 teaspoon salt
1/4 teaspoon nutmeg (I never measure since I grate my own–3-4 grates is enough)
3/4 C. butter, room temperature (1.5 sticks)
1 C. sugar
2 eggs
2 teaspoons vanilla
8 oz. lemon yogurt
Preheat oven to 400 degrees. Wash and dry blueberries. In medium bowl, mix flour, baking powder, salt, and nutmeg.
Beat butter and sugar. Add eggs, beating after each. Add vanilla, beat until fluffy. Stir in half of the flour mixture and yogurt. Stir in remaining flour. Fold in blueberries.
Fill muffin cups. Bake 10 minutes. Reduce heat to 375 degrees. Bake 10 minutes more.
Do you ever have one of those days when you want breakfast, but you also want pizza? This is the perfect combination of both! It’s pretty easy, too!
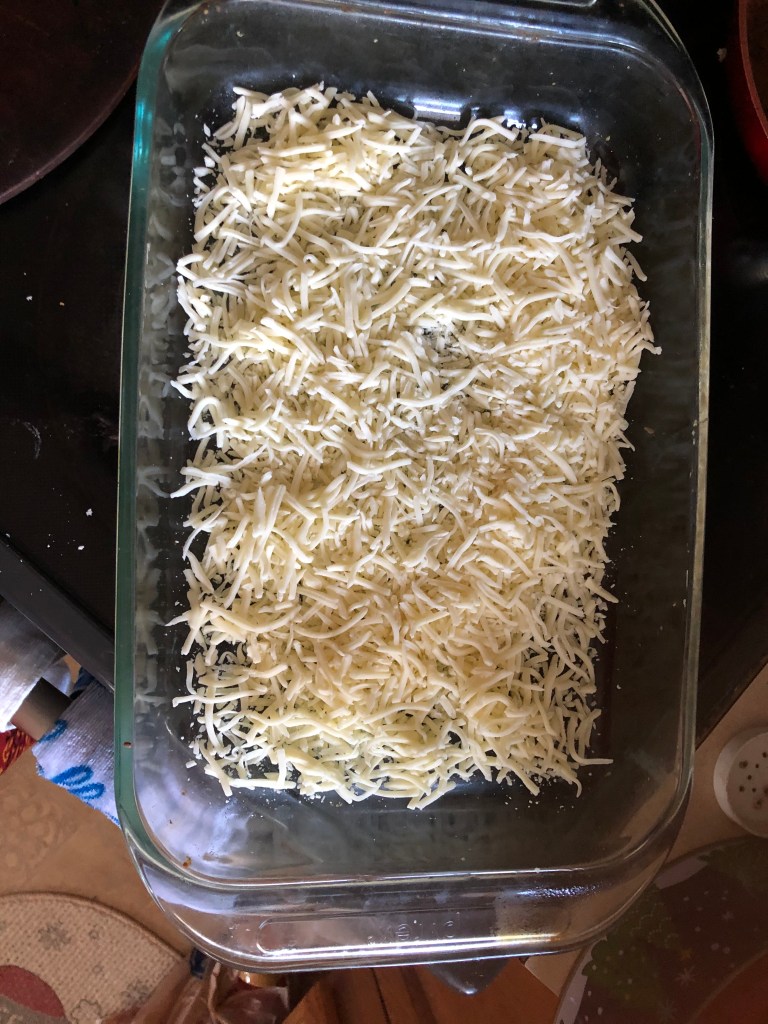
First, preheat the oven to 350 degrees. Take a 9×13 baking dish and spray with cooking spray. Then sprinkle 2 cups of mozzarella on the bottom of the dish.
mozzarella sprinkled in the bottom of the pan
Take a mixing bowl, and beat together 4 eggs, 4 ounces of softened cream cheese, 1/3 cup milk, 1/4 cup grated Parmesan cheese, 1/2 tsp. garlic powder, and 1/2 tsp. Italian seasoning. Pour atop the cheese in the baking dish.
egg mixture poured on top of the cheese
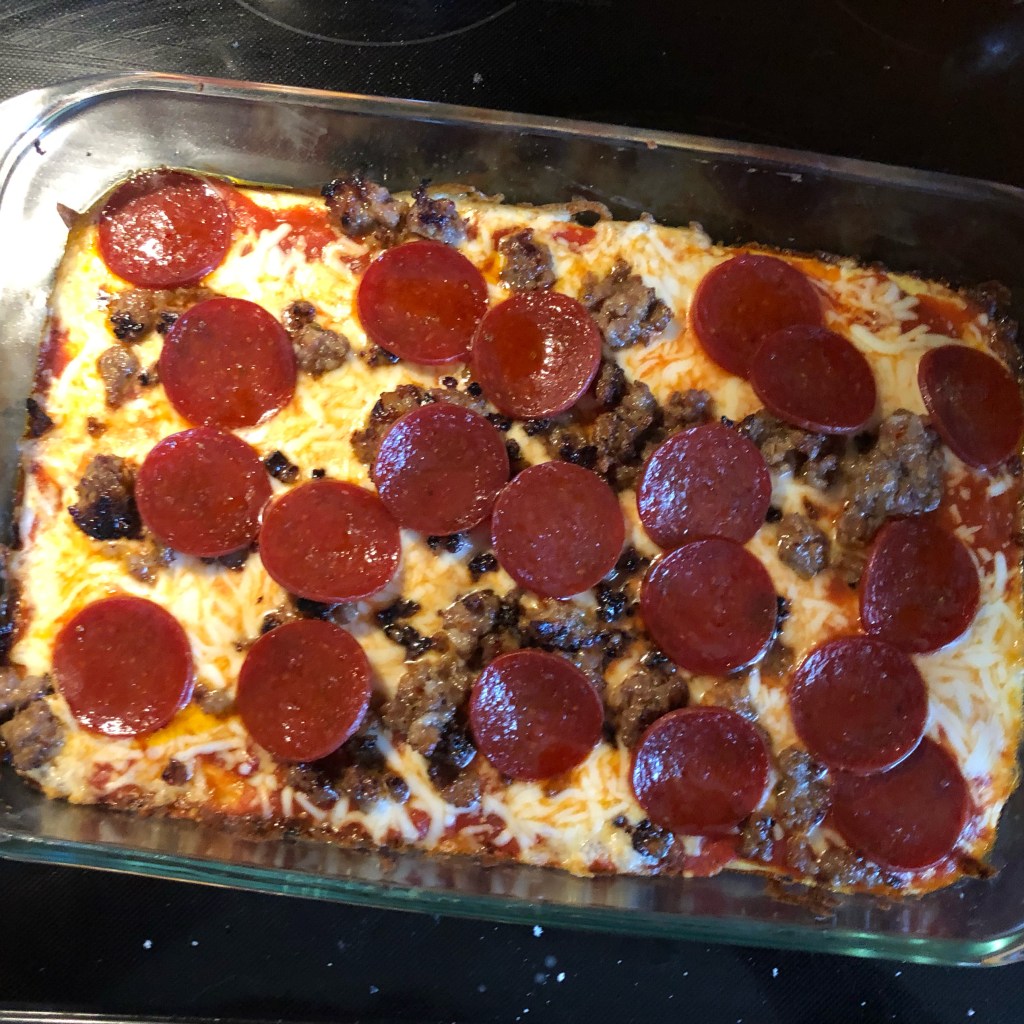
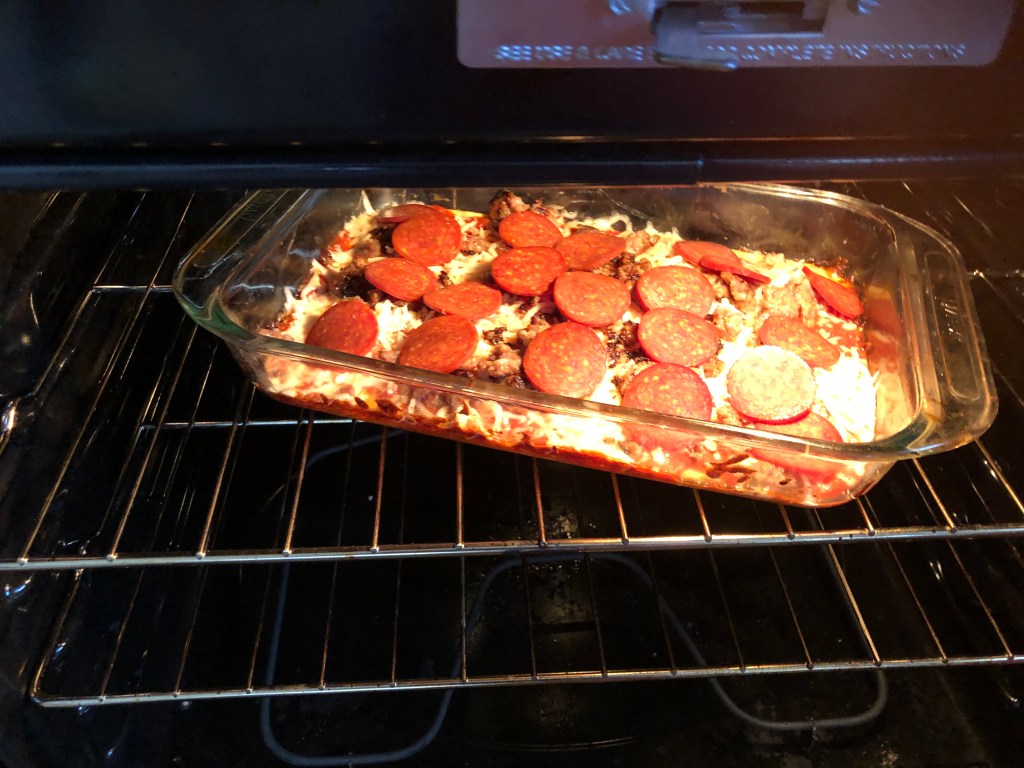
Bake for 30 minutes. Spread 1/2 cup pizza sauce (I was lazy and used jarred spaghetti sauce from my pantry) on top of baked eggs. Sprinkle with pepperoni and 1/2 lb cooked Italian sausage. Bake about 10 minutes longer, until brown and bubbly. Of course, you can add any other/different toppings as you prefer.
toppings added and into the oven for baking
Leave standing for about 10 minutes before cutting a square.